Monday, September 24, 2012

chocolate mayonnaise cupcakes

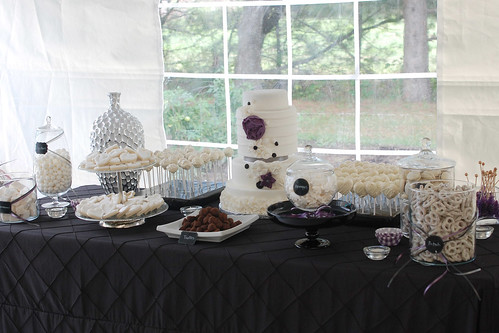
I've been a bad blogger! Haven't posted in almost a month. Skipped the past three Baked Sunday Mornings recipes. I've been busy with cake decorating this month, a sweets table for a wedding, made a few recipes that I've made before, and dived right in the new Baked cookbook and made recipes not yet on the Baked Sunday Mornings recipe schedule. And I figured I should post one of them before they kick me out of the club for being delinquent!

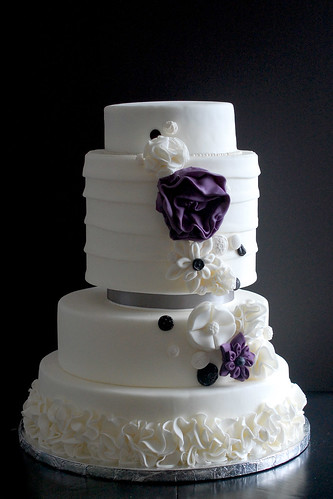
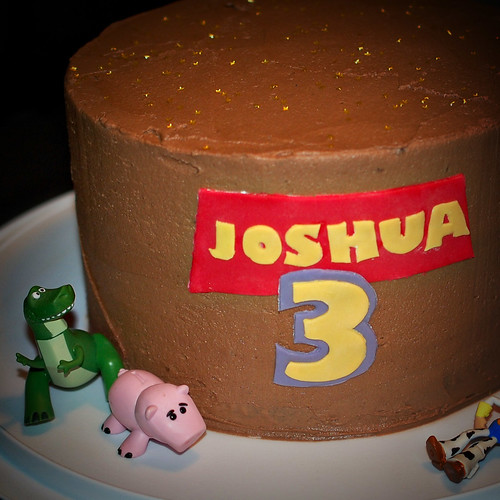
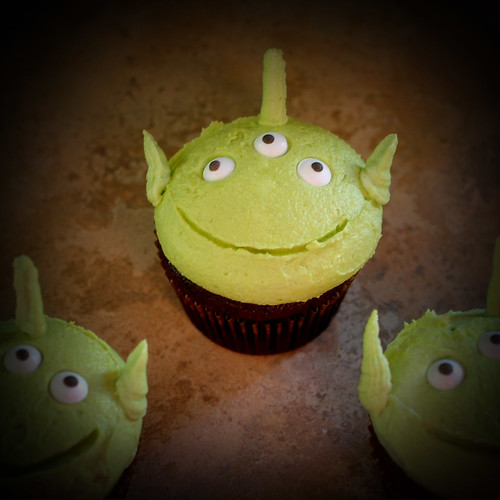
I've made this recipe three times this month. One recipe became the top tier of a wedding cake. (It actually made three 6-inch layers). I doubled it on a second occasion to make three 8-inch layers that got transformed into a toy story cake and I also got a dozen cupcakes that became little aliens. Finally, I made it a third time this month into these cupcakes for a bridal shower.


I was very impressed with this recipe when I baked the batter in cake tins. Even if the cake was very moist, its structure was perfect. The cake came out of the pan very easily, and the sides of the cake stayed straight, which helps when trying to get a perfect finish in buttercream! It does dome quite a bit, but once the cakes are leveled off, the scraps are delicious to snack on!

Because the cake does dome, it made for very pretty cupcakes! I made sure to rotate the pans halfway through the baking time though, to make sure that they would rise evenly.

Oh yeah, and instead of butter, these cupcakes require mayonnaise. Although it could seem weird to some people, but having had mayonnaise cake when I was a kid I know they produce super moist cake, and really, when you think about it, mayonnaise is basically oil, egg yolks and some kind of acidic ingredient.

Chocolate Mayonnaise Cupcakes
recipe source : Baked Elements

2 ounces good-quality dark chocolate, coarsely chopped
2/3 cup dark unsweetened cocoa powder
1 3/4 cups boiling water
2 3/4 cups all-purpose flour
1 1/4 teaspoons baking soda
1/4 teaspoon baking powder
1 cup granulated sugar
1 cup firmly packed dark brown sugar
1 1/3 cups mayonnaise
2 large eggs
1 teaspoon pure vanilla extract

Preheat the oven to 325 degrees F. Line two 12-cup cupcake pans with paper liners.
In a medium heatproof bowl, stir together the chocolate and cocoa powder. Add the water and whisk until smooth.
In another medium bowl, sift together the flour, baking soda, and baking powder.
In the bowl of a standing mixer fitted with the paddle attachment, beat  both sugars and the mayo together until well blended, 2 to 3 minutes. Add the eggs, one at a time, beating well after each addition, then beat the mixture until it is completely combined and uniform in color. Add the vanilla and beat again.
Scrape down the sides and the bottom of the bowl. Add the flour mixture in three parts, alternating with the chocolate mixture, beginning and ending with the flour mixture. Beat just until incorporated.
Fill the cupcake liners about three-quarters full. Bake the cupcakes for 17 to 20 minutes, rotating the pans halfway through the baking time, until a toothpick inserted in the center of a cupcake comes out clean.
Allow the cupcakes to cool for 15 minutes in the pan, then turn them out onto wire racks to cool completely.
I really like this recipe. It's easy, there is no advance prep it produces a great cake with an almost perfect texture. I'm not sure it is the most delicious cake I've ever had, but I think the once you slather it with frosting, the resulting treat is delicious!

I haven't tried the frosting recipe included with these cupcakes. Maybe I'll save that for when the Baked Sunday Mornings baking group gets around to making this one.

Monday, August 27, 2012

pâte à choux swans

It's Daring Baker's reveal day!

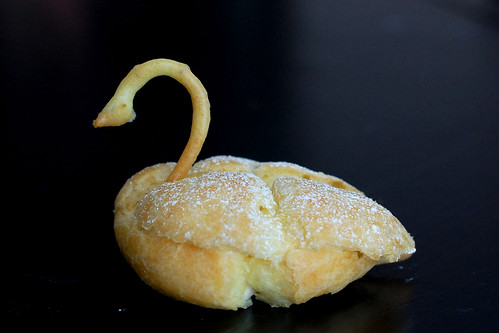
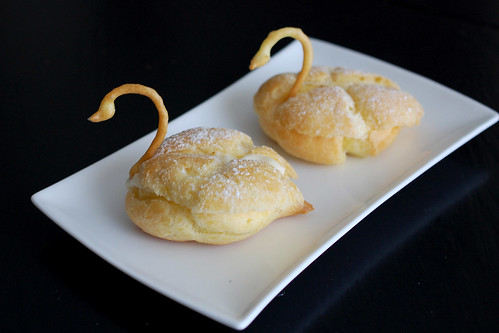
I was very excited when I saw August's challenge! Kat of The Bobwhites was our August 2012 Daring Baker hostess who inspired us to have fun in creating pate a choux shapes, filled with crème patisserie or Chantilly cream. We were encouraged to create swans or any shape we wanted and to go crazy with filling flavors allowing our creativity to go wild!

A couple weeks prior to the challenge being announced, I had played with pâte à choux for the first time, planning on making eclairs to bring to a family gathering. Although my eclairs shells turned out fine, I undercooked my pastry cream and it was too soupy to pipe in the shells. So that was a fail!

I was quite ready to give it another go, and this time, it did turn out!


I used the pâte à choux recipe provided by our hostess, but took the lazy way out, and used the stand mixer to finish the dough. There doesn't seem to be much variations between pâte à choux recipes, so you can't go wrong!

Pâte à choux

½ cup (120 ml) (115 gm) (4 oz) butter
1 cup (240 ml) water
¼ teaspoon (1½ gm) salt
1 tsp sugar
1 cup (240 ml) (140 gm) (5 oz) all-purpose flour
4 large eggs

Line at least two baking sheets with silicone mats or parchment paper, or grease pans well.
Preheat oven to moderately hot 375°F/190°C/gas mark 5 .
In a small saucepan, combine butter, water, salt and sugar. Heat over medium until butter melts, then remove from stove.
Add flour all at once and beat the mixture until the dough pulls away from the sides of the pot.
Transfer the mixture to the bowl of a stand mixer, and using the paddle attachment and a low speed, mix briefly before adding the first egg. Beat for about a minute, until well combined. Add remaining eggs one at a time, beating for about a minute after each addition. Resulting mixture should be somewhat glossy, very smooth, and somewhat thick.

Scoop or pipe the mixture in desired shapes and bake in a 375 F oven. Start checking the progress at 20 minutes (10 minutes for the swan heads). The dough should be golden.

To make the swan bodies, pipe the dough in a tear drop-like shape, about 1.5 inch long and 1 inch wide.

The swan heads are piped using a much smaller plain tip, in a 2 shape.


I chose a crème chiboust to fill my pastries with. I had never heard of this kind creamy filling before researching pâte à choux, but a crème chiboust is a pastry cream combined with italian meringue. It's traditionally used to make St-Honoré cake.

The pastry cream is made by combining flour, salt, sugar, egg yolks and  milk in a saucepan, and cooking it while constantly stirring until thick. Gelatine is then added in, with vanilla, and a bit of heavy cream. The pastry cream is kept warm while the italian meringue is being made, by heating water and sugar to 240F degrees, then adding it to whipped egg whites and whipping the resulting meringue until the mixture is cooler, but still warm. The two mixtures are then combined to make chiboust cream.

Crème Chiboust
recipe adapted from Tartelette and Gary Rhodes

1 envelope unflavored gelatin
1/4 cup cold water
1/2 cup + 2 Tablespoons sugar
½ cup all-purpose flour
1/4 teaspoon salt
5 egg yolks
2 cups whole milk
1 Tbsp vanilla
¼ cup whipping cream

5 egg whites
dash of salt
1 cup sugar

Bloom the gelatin in the 1/4 cup of cold water.
Put the sugar, flour, and salt into a saucepan and stir together with a whisk. Add the yolks and enough milk to make a paste. Whisk in the remainder of the milk. Place over low heat and stirring constantly, cook until thick. Remove from heat and stir in the vanilla and the gelatin. Stir until the gelatin is completely dissolved. Stir in the whipping cream.

In another saucepan, boil together the sugar and water to around 240°F, which takes 2-3 minutes. While the sugar is boiling, whisk the egg whites to firm peaks. Gradually pour the boiled sugar onto the egg whites, whisking all the time; slowly continue to whisk the egg whites until just warm. Fold the meringue into the custard.

I was afraid the crème chiboust would set solidly if I let it cool, so I used it immediately. It was a bit soft for piping, but held up anyways. I should have strained the pastry cream before combining it with the italian meringue, as it was a bit lumpy, but still, super delicious! Once cold, it did set very solidly, so next time I would decrease the amount of gelatine, but it was still very delicious!

Now that I know how simple make cream puffs can be, and what pretty creations you can make with them, this could get very, very dangerous!

Thanks for the challenge Kat. Can't wait to see what challenge September brings!


Sunday, August 26, 2012

heartland turtle bars

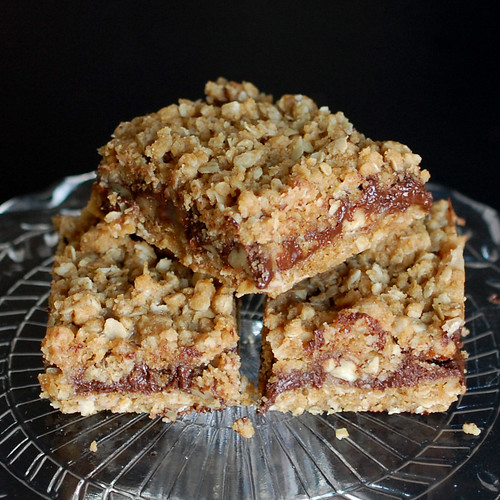
It's been a while since I blogged with the Baked Sunday Morning crew, but after a short hiatus, I decided to jump right back in, and make these Heartland Turtle Bars. I really like desserts with oats in them, and this one is also chock full of chocolate, caramel and pecans.


One of the easier recipes in Baked Explorations, it's way less involved than most of them, and quite simple to make. The dry ingredients are combined together with melted butter, and 2/3 of the mixture is pressed in the bottom of a pan to make the crust, while the rest is reserved for the topping. The crusts bakes for 10 minutes, and once it's cool, chocolate chip and pecans are sprinkled on top.

The caramel layer is a mixture of butter and brown sugar, with a touch of cream. Mine was quite liquid and immediately blended in with the chocolate. So there was no distinct caramel layer like I was expecting. The rest of the topping was sprinkled on top of the caramel, and the bars were baked once more until golden brown.

Maybe I didn't bake them enough, but they were quite softer than I had imagined. I have to admit that they didn't get to cool down very much either, as it was quite warm and the house. (And I didn't read the part about chilling the bars for an hour so that they firm up) The chocolate stayed very soft.

It's very, very sweet. My husband said that it reminded him of an apple crisp, and said that the bars would be awesome, slightly warm, under a scoop of vanilla ice cream!

The recipe can be found on the Baked Sunday Mornings blog. Click on though to see how the other bakers enjoyed this one.

Sunday, August 5, 2012

chocolate ice cream

A UK based blog, Domestic Sluttery, started this new "pudding club", where once a month, they are going to announce a new pudding theme, and participants are to make a recipe, photograph and blog about it.

So of course, I decided to join in! I like that it's very lax in its rules. You make something, post it whenever, the Domestic Sluts share the posts when they can, and recap the first Monday of every month. Plus, I'll get to discover new blogs! Always fun!

My only issue is that the Canadian in me is not so familiar with the "pudding" term. I assume that it refers to their word for dessert. But then, in their inaugural post, they used the word "puddingy". And examples of puddings for this month's theme "chocolate", were a soufflé, a mousse, or a chocolate fondant pudding. Sure, they're desserts, but they are also like actual puddings (my understanding of pudding, a creamy, egg, milk or cream based concoction...).


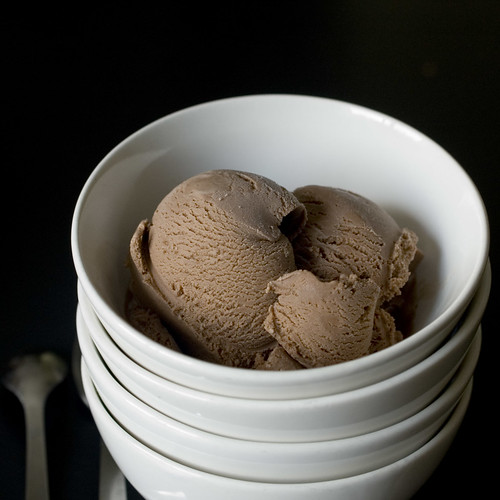
In honor of this month's chocolate theme, I made chocolate ice cream. See, until I can understand this better, and see what the other participants in this club made, I made something safe. It's pudding (custard) based and I eat it for dessert, so yeah. Safe!

The recipe is out of a book from a famous ice cream shop in the states that I've never actually been to. I've made a couple recipes out of it so far, and they were very good. 

Chocolate Ice Cream

6 egg yolks
12 tbsp sugar
1/4 cup cocoa powder
1 cup milk (1%)
1 3/4 cups heavy cream
1/4 tsp kosher salt
1 tsp vanilla


Their method is pretty traditional, where egg yolks and half the sugar are whisked together and set aside, and a mixture of cream, milk, sugar, salt and flavorings, in this case, cocoa powder is brought to an almost boil. The cream mixture is gradually whisked in the egg yolks to temper them, and the whole thing is transferred back to the saucepan to cook until the mixture thickens enough to coat the back of a spoon.

The mixture has to be completely chilled before being churned in an ice cream maker. Right out of the ice cream maker, the chocolate ice cream was super smooth, yet was slightly chewy. It looked like the perfect soft serve ice cream. I stuck it in the freezer overnight, and it came out perfect! The chocolate flavor isn't very pronounced, but it tastes like a milk chocolate ice cream.


For more information about the Sluttery Pudding Club, click on through to their site, and please visit the blogs of other participants in this club!

Friday, July 27, 2012

crackers for daring bakers

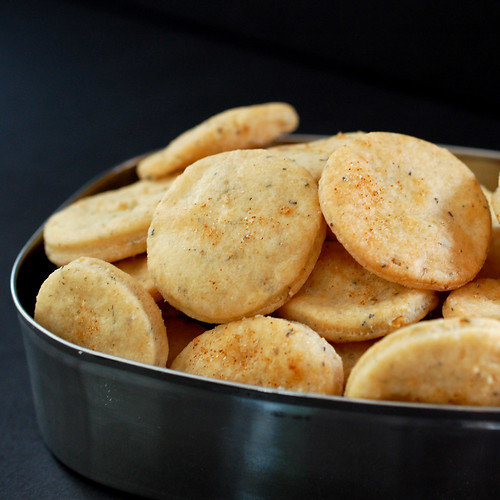
Our July 2012 Daring Bakers’ host was Dana McFarland and she challenged us to make homemade crackers! Dana showed us some techniques for making crackers and encouraged to use our creativity to make each cracker our own by using ingredients we love.


I've made crackers a few times before. Cheddar coins that were rolled too thickly and maybe under-baked, and graham crackers that were so hard, we couldn't eat them. But since I've conquered my fear of rolling out dough, I took on the challenge and made the recipe provided for Pepper Jack and Oregano Crackers. I had to modify slightly, because I realized I was out of oregano, and the store only had regular jack cheese. So instead of the oregano, I went with italian spices, and added a good pinch of red pepper flakes to compensate for the lack of heat in the cheese.

They were very flavorful, but spicy enough that I didn't dare give them to the kiddos to taste-test. They were too spicy for my husband, but after leaving the spice topping of a few of them, he happily eat them. I don't often eat crackers, but I found myself going to the kitchen again and again to steal some of those off the cooling rack.


Pepper Jack and Oregano Crackers

Servings: Approximately 80 crackers

1⅔ cups (400 ml) (235 gm) (8¼ oz) all-purpose flour
2¼ cups (540 ml) (225 gm/8 oz) grated pepper jack cheese, firmly packed
2 teaspoons (10 ml) (1 gm) dried oregano
½ teaspoon (2½ ml) (3 gm) salt
½ teaspoon (2½ ml) (½ gm) black pepper
½ cup (120 ml) (4 fl oz) vegetable oil
½ cup (120 ml) (4 fl oz) water

Spice topping

¼ teaspoon (1¼ ml) (1/8 gm) cayenne
1 teaspoon (5 ml) (3 gm) kosher salt
1 teaspoon (5 ml) (5 gm) sugar

1. Combine the spice topping and set aside.
2. Grate the cheese and put in the bowl of a food processor with flour, oregano, salt and pepper and pulse to combine. This can also be done by hand.
3. Add the oil and pulse until the consistency of wet sand is reached.
4. Add enough water for the dough to come together.
5. Form the dough into two disks, wrap with cling film and refrigerate for several hours or overnight.
6. Heat the oven to moderate 325°F/160°C/gas mark 3.
7. Working with a quarter of the dough at a time, either use a rolling pin or roll out in your pasta rollers to 1/8 of an inch (3 mm) thick. If you use pasta rollers, ensure the dough is well floured so as not to stick.
8. Cut the strips into cracker shapes or cut out using a cookie cutter.
9. Transfer to a parchment lined cookies sheet and sprinkle with the spice mixture.
10. Bake for 20-25 minutes until medium golden brown.
11. Store in an airtight container and eat within three days


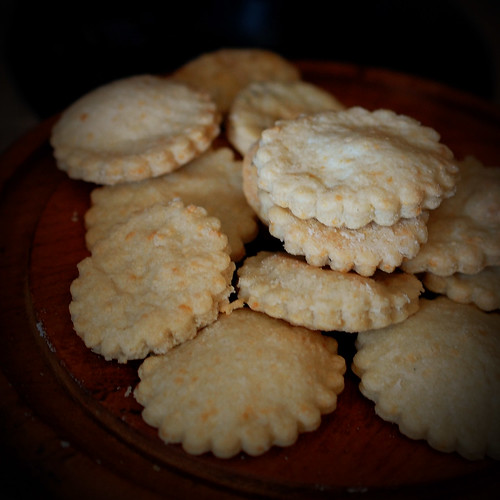
The challenge was to make at least two cracker recipes, using two of three methods: hand rolling, using a pasta machine, or slice and bake crackers. I hate, *hate* the pasta machine and I didn't find an ice box cracker recipe I wanted to try, but I did spot a cracker recipe in LCBO's summer magazine: biscuits au cheddar et aux anchois - cheddar and anchovy crackers. And bonus, I had all the ingredients on hand!

They quickly came together in the food processor, and unlike the pepper jack crackers, did not need to be refrigerated before rolling out. As I gathered the dough to roll it out, it smelled just like a ceasar salad. Very savory. I would totally use these crackers in a salad instead of croutons, or eat them alongside a bowl of creamy tomato soup.

Cheddar and anchovy crackers
recipe source: LCBO's summer 2012 À bon verre, bonne table

1 cup all purpose flour
1/4 cup butter
1 clove garlic, peeled
2 tbsp anchovy paste
1 cup sharp cheddar, shredded
2 tbsp whipping cream

Combine all ingredients except whipping cream in a food processor, pulsing until evenly distributed. Add the cream and processes until dough comes together.

Turn out the dough on a floured surface, and roll out to 1/4 inch thickness. Cut out circles. Place them on a parchment paper lined baking sheet, and bake at 375 F for 10 minutes, until crackers appear puffed. Let cool.

Out of these two, the cheddar and anchovy cracker was greatly prefered. Thanks for the challenge Dana! Can't wait to see what next month brings!

Wednesday, July 11, 2012

dogwood topped coca-cola cupcakes

I went back to an old recipe (well, relatively) for these cupcakes. A recipe out of the first Baked cookbook for a root beer bundt cake. I've made it many times over the years: as a bundt cake, as a layer cake, as cupcakes. With root beer, with coke, with hot chocolate, with coffee. It's a sturdy cake, with a really moist crumb, a nice dome and excellent flavor and texture. I had forgotten how good it really was!


The cake batter is made by boiling coke, butter and cocoa. White and dark brown sugar are then whisked in the mixture until dissolved, then left to cool. In the past, when I made this recipe, I sometimes got little bits of baking soda that were not incorporated in the batter properly. An embarrassing situation. So this time around, I whisked the baking soda with the eggs before incorporating them in the butter/cocoa/coke/sugar mixture. Then flour and salt get folded in. In the end, I added a splash of vanilla, just because.


The cupcakes get baked for 20 minutes at 325 degrees F. This recipe gave me 2 dozen cupcakes.

Coca-Cola Cupcakesadapted from Baked: New Frontiers in Baking


2 cups coke
1 cup dark unsweetened cocoa powder
1/2 cup (1 stick) unsalted butter, cut into 1-inch pieces
1 1/4 cup granulated sugar
1/2 cup firmly packed dark brown sugar
2 cups all-purpose flour
1 tsp salt
1 1/4 tsp baking soda
2 large eggs

Preheat the oven to 325 degrees F. Line two cupcake tins with paper liners. 

In a small saucepan, heat the coke, cocoa powder, and butter over medium heat until the butter is melted. Add the sugars and whisk until dissolved. Remove from the heat and let cool.

In a small bowl, whisk the eggs with the baking soda then whisk the eggs into the cooled cocoa mixture until combined. Gently fold the flour and salt into the cocoa mixture. The batter will be slightly lumpy--do not overmix, as it could cause the cake to be tough. Portion out the batter in the cupcake tins and bake for 20 minutes until a toothpick inserted into the cupcakes comes out clean. 


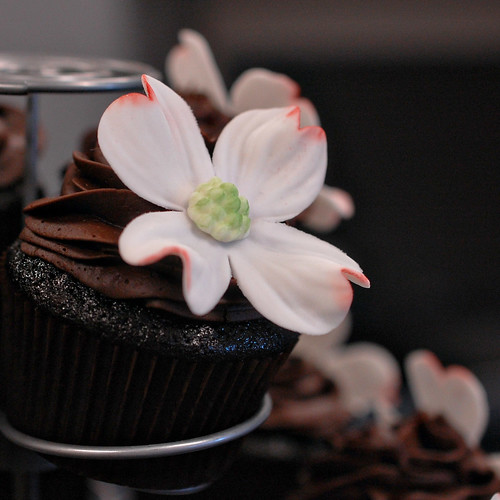
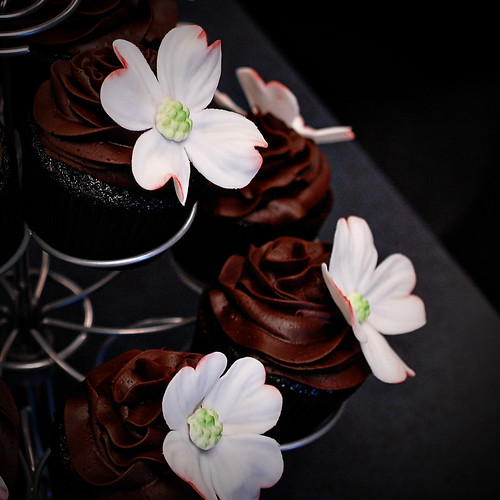
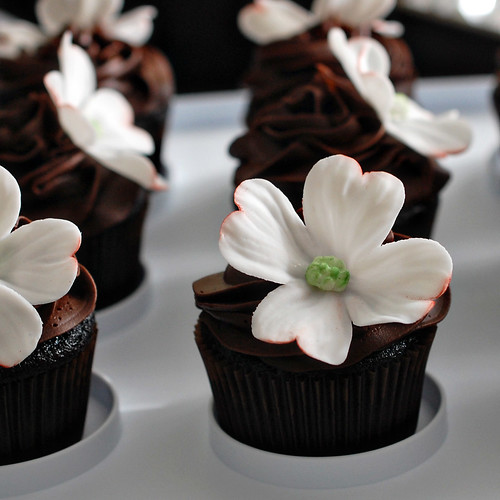
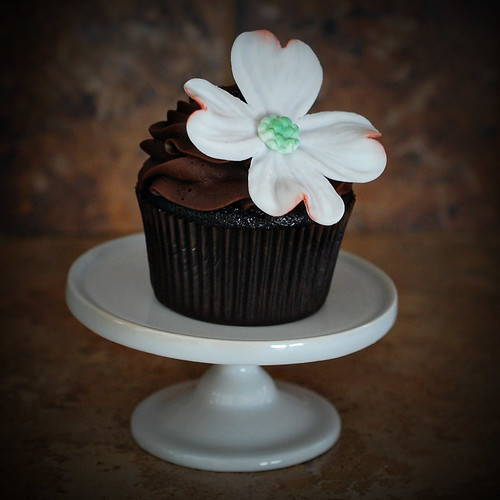
Too lazy to make frosting from scratch, I went with canned chocolate frosting, which everyone likes. Swirled it with a 1M tip, and topped it with a fondant dogwood flower, these cupcakes were as pretty as can be! It was my first time making these flowers, and I really had a blast making them. They are quite simple, and since I made them with fondant instead of gumpaste, the process was much quicker, as I had more time to work before the sugarpaste dried! 


Oh, and the cupcakes don't really taste like coke... The flavor intensifies after a few days, but even at that, you can't really tell what the secret ingredient is! Also, they stay moist forever, and freeze beautifully. They don't get rock hard, so you can actually eat them while still frozen! I'm thinking an excellent base for an ice cream cake!


Sunday, July 8, 2012

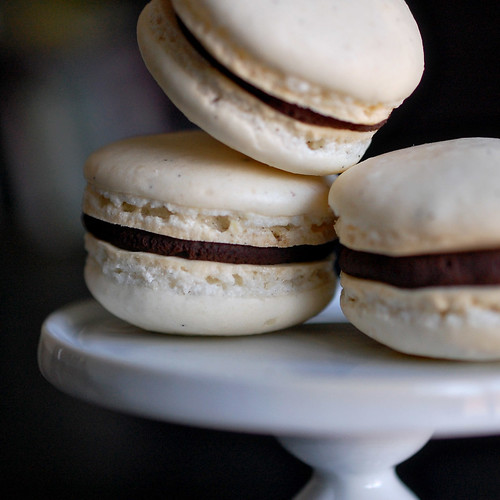
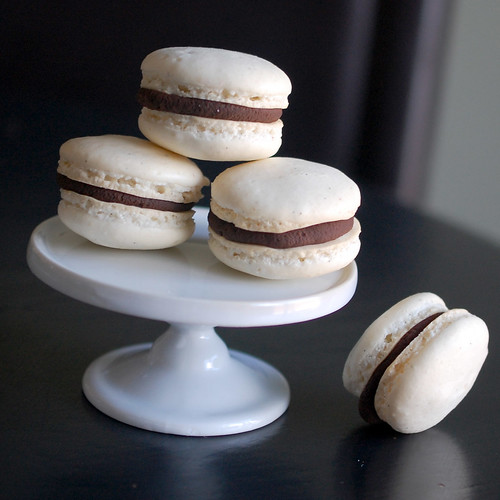
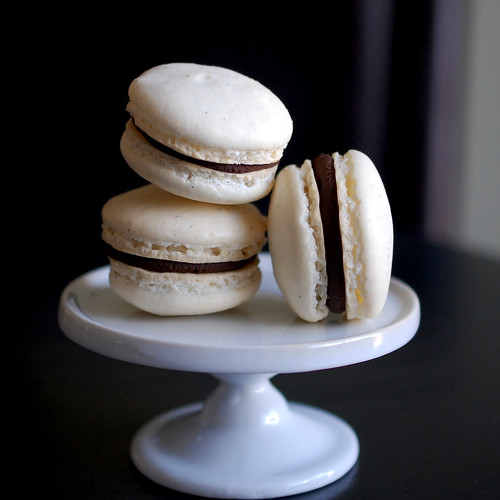
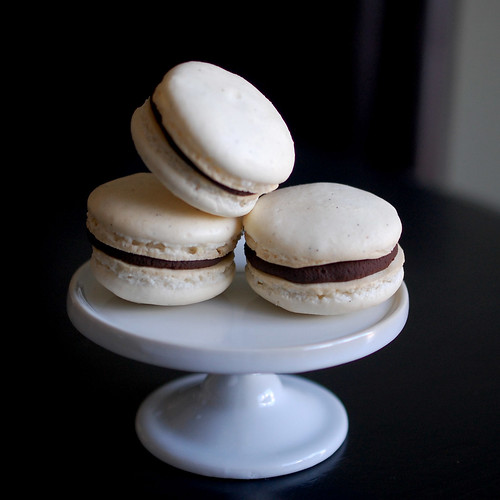
vanilla bean macarons filled with nutella ganache

Although macarons have been all over the internet for a good while, I had never tried to make them before now. Mainly because I was afraid: Every second blog post about these french cookies seem to revolve around the fact that they are very finicky and difficult to make successfully. But between reading posts on Bravetart and eat.live.travel.write, I decided to give it a go.


They require very little ingredients : egg  whites, sugar, salt, vanilla, powdered sugar and almonds. Basically, the egg whites, sugar, salt and vanilla are whipped until very stiff. Then, the twice-sifted powdered sugar and almonds are incorporated. The mixture is piped in circles, and baked. And if all goes well, the mixture rises up instead of spreading out, and bakes perfectly, without cracking. 

The most tedious part for me was the process of pulverizing the almonds and powdered sugar in the food processor to be able to sift the mixture. And I was even using ground almonds! But it was a slow process of pushing the mixture through the sieve, then putting the bigger chunks of almonds back in the food processor so that they could be sifted with the powdered sugar.

The stand mixer makes it easy to whip up the egg whites, and the directions in the recipe are very clear. I thought that the folding of the almond mixture in the egg whites went pretty well, but I might have over mixed my first batch a tiny bit, and undermixed the next.

In order to get cookies that are mostly the same size, I traced 1.5 inch circles on the back of the parchment paper lining my baking trays. Even at that, I got macarons of all sizes. I guess I still need to practice my piping skills!

After letting them rest/set/dry for half an hour, I baked my first batch on a rimmed cookie sheet. Most of them cracked, and some of them came out pretty much perfect! The second batch baked on an identical rimmed cookie sheet gave me the same results, but the last bit of the batter, I baked on a rim less cookie sheet, and none of the cookies cracked. So I guess that's the secret, for baking macarons in my oven. Also, I found that if the parchment paper is not quite flat, it affects the "feet" of the cookies. So I now know not to use wavy parchment paper.


Vanilla bean macaron recipe (French meringue)
Recipe slighly adapted from: Mardi Michels, adapted from Stella Parks (bravetart.com)

115g ground almonds
230g icing sugar
144g egg whites, covered in plastic wrap and left at room temperature for a few hours.
72g granulated sugar
pinch of salt

seeds from 1 vanilla bean

Line two baking trays with parchment paper.
Prepare a 14” piping bag with a plain tip, twist the bag at the tip to keep the mixture from leaking out and place inside a tall glass to facilitate filling the bag.
Combine almond flour and powdered sugar in a food processor, pulsing about 10 times for a few seconds, until all ingredients thoroughly incorporated.
Sift dry ingredients twice using a fine sieve and pressing the mixture through with your hands and set aside.
Using a stand mixer, beat the egg whites, salt, sugar and vanilla seeds at a low speed (Kitchen Aid speed four) for 2 minutes, medium speed (Kitchen Aid six) for 2 minutes and a high speed (Kitchen Aid eight) for 2 minutes. The egg whites will be very stiff at this point.
Mix for one more minute at the highest speed (Kitchen Aid ten).
Add the dry ingredients to the egg whites.
Fold the mixture, pressing it against the sides of the bowl to deflate the mixture. Fold about 40 times (counting single strokes), stopping every couple of strokes after 25 to check the consistency. It should be lava-like, flowing in ribbons off the spatula.
Transfer half the mixture to the piping bag, sealing the open end with a twist and holding firmly with the hand that will not be actively piping.
Pipe four tiny dots of mixture under the corners of the parchment paper to make sure it stays put.
Pipe your macarons in a 1.5 inch circles.
Rap the tray 3-4 times on a hard surface. You’ll see air bubbles coming to the surface of the unbaked shells.
Fill the bag with the rest of the mixture and pipe and rap the second tray.
Preheat the oven to 300˚F.
Rest the trays of macaron shells for 30 minutes before baking.
Place one tray of macarons on an empty baking tray and bake on the middle rack of the oven for 16 minutes at 300˚F, turning the tray from back to front halfway through.
Remove from oven and let the tray sit for a few minutes.
Remove the parchment from the tray and allow to sit on a cool surface for at least 30 minutes, then remove macaron shells to a cooling rack.
Store in an airtight container overnight.
Pair up like shells to facilitate the filling process.
Once completely cool, fill with ganache or cream filling of your choice.
Best enjoyed 24 hours after filling.


For the filling, I used a mixture of chocolate chips, melted with nutella and heavy cream, the same filling used in my nutella s'mores bars. So yummy!

Nutella Ganache

1/2 cup Nutella
1 cup semisweet chocolate chips
3 tablespoons heavy cream (or half and half)

Combine the Nutella, chocolate chips, and heavy cream in a large microwaveable bowl. Microwave on high at 15 second intervals until the chocolate chips have melted, for about 45 seconds total. Whisk the mixture until it is smooth and shiny. If necessary, add a few extra drops of cream if the mixture seems too thick.


Now the only problem is, I've never had a macaron before making my own, so I have nothing to compare them to. Mine a crispy, but I was under the impression that they should be chewy? I might have waited too long to fill them too. I baked them, let them cool on racks overnight, then stored them in an airtight container, filled them on day 3, then stored them in the fridge. I might have done something wrong in there somewhere... Back into the kitchen to try again!