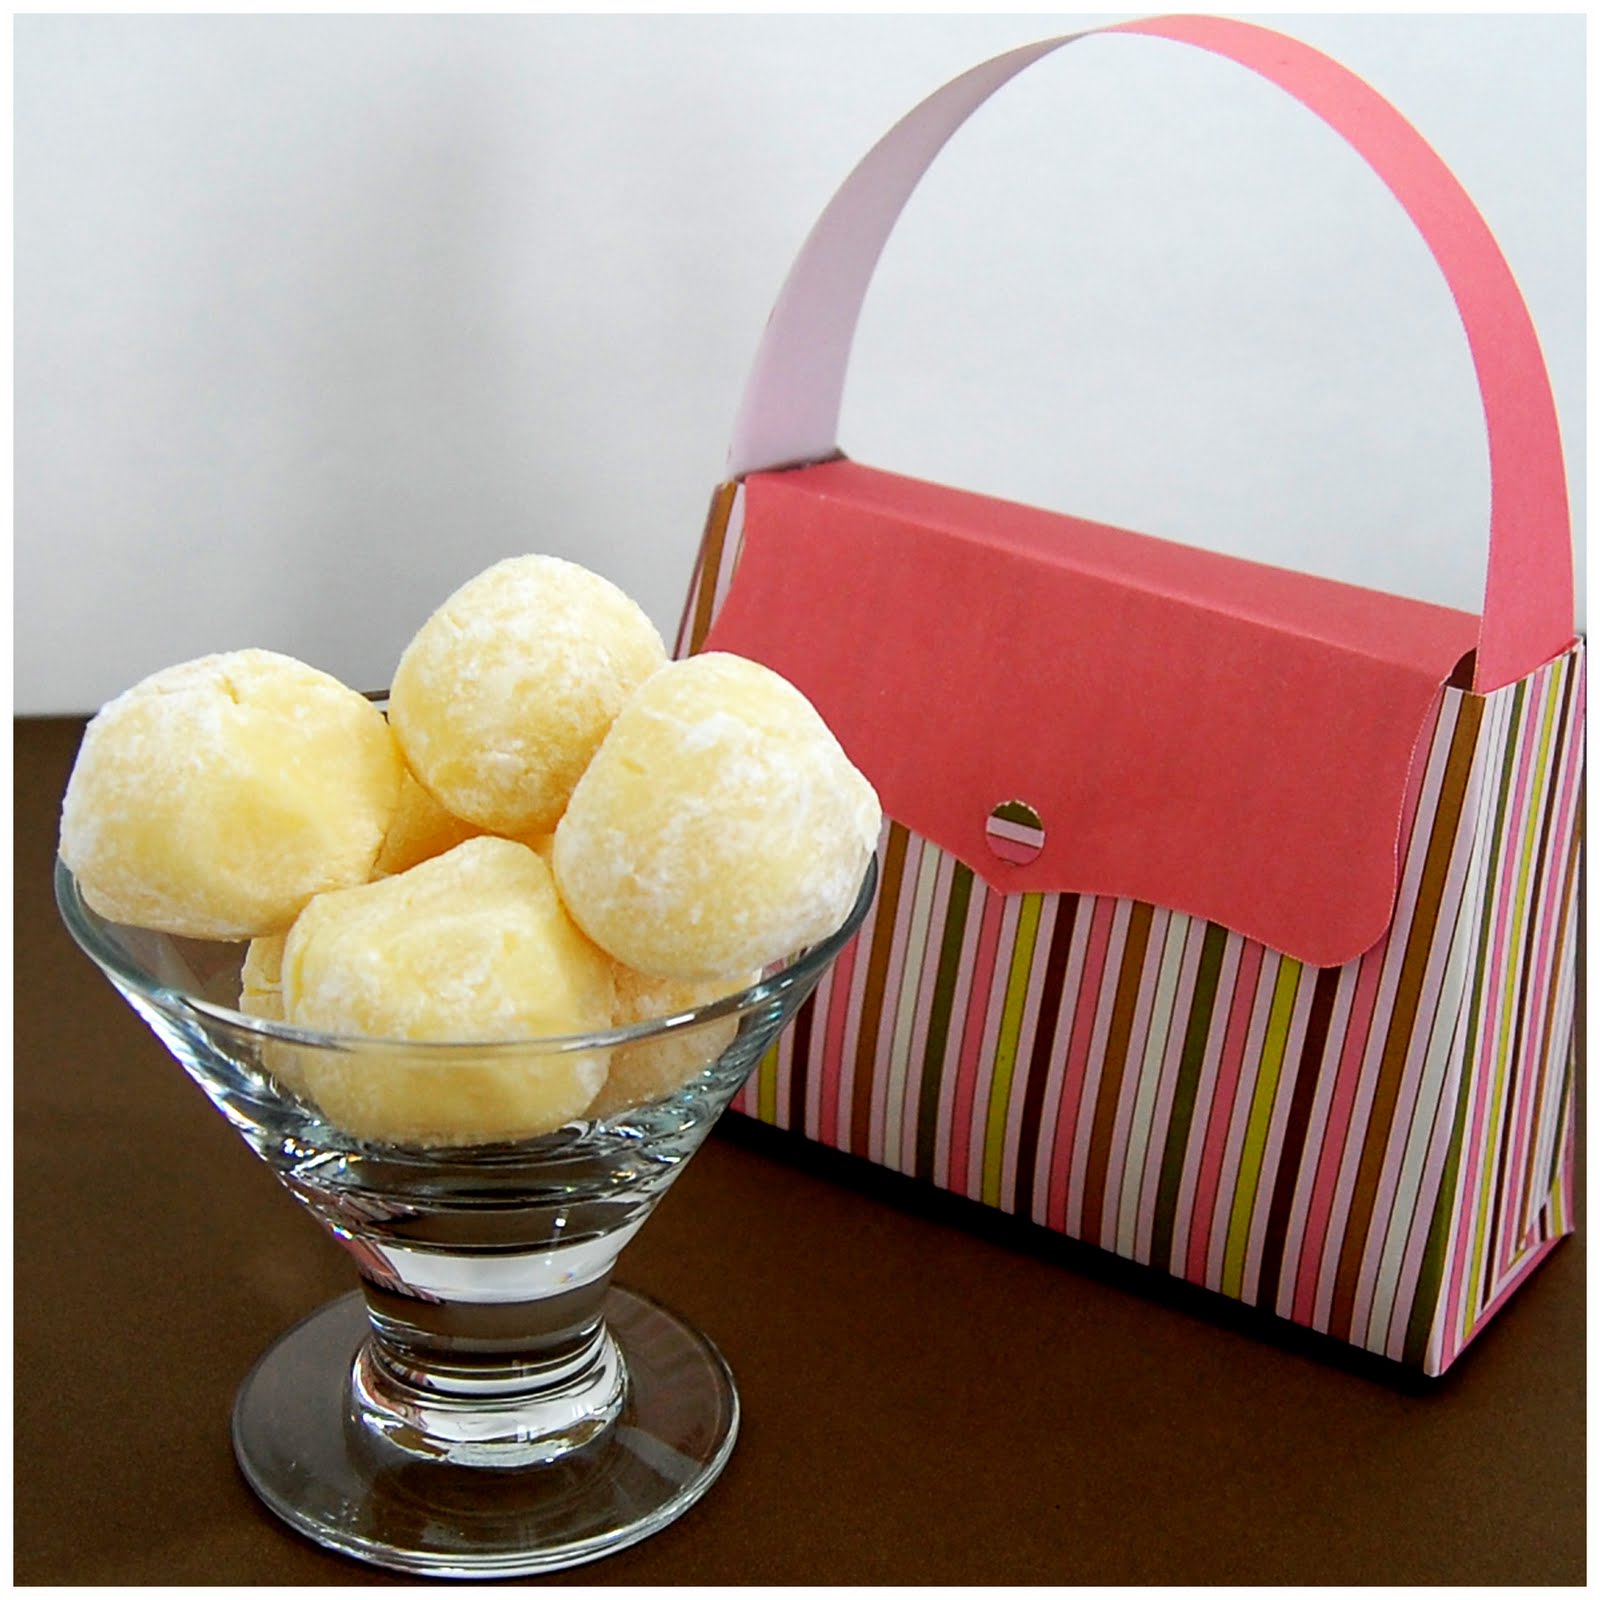
I was asked to make fancy treats for a trade show. I posted about lemon truffles a little while back, these made the cut, and I'm sending custom colored marshmallows, because, who doesn't need a hit of pure sugar while standing around trying to sell things at a trade show. Pop one of those in your mouth, and you're good to go! But I wouldn't call these treats fancy. Neither are these brownie cookie dough sandwiches, but they are certainly over the top. So they are rounding out my little sugar care package. I hope the ladies like them!

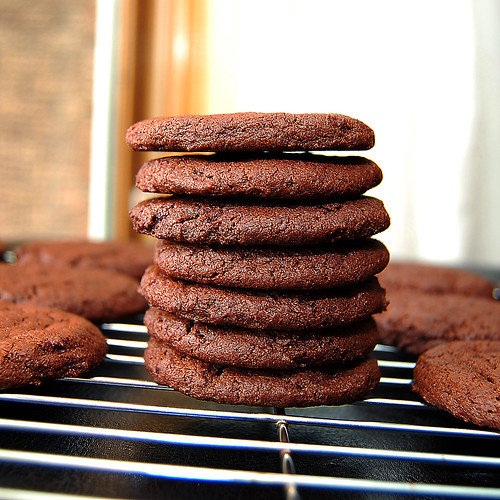
Making them I remembered why cookies are not my favorite thing to bake - a thing my husband knows only too well. I rarely make them, and he always craves cookies. I only have one good baking sheet. So that means, 12 cookies at a time if i'm lucky, more often just 9. And they have to cool on the baking sheet a bit, so I can't just put another batch in the oven. And the baking sheet has to cool to prevent spreading. So for this recipe, 5 batches, at 10 minutes each, then a cooling time of 5 minutes, and an extra 5 minutes to let the sheet cool down, is almost two hours of baking cookies! And just as my last batch was finishing baking, we had a power outage... I lost my oven timer so I didn't know when to take them out, or if my gas oven was even still on... Yeah, I left them in too long. They were definitely on the crispy side of things. Good thing they were the last 7!
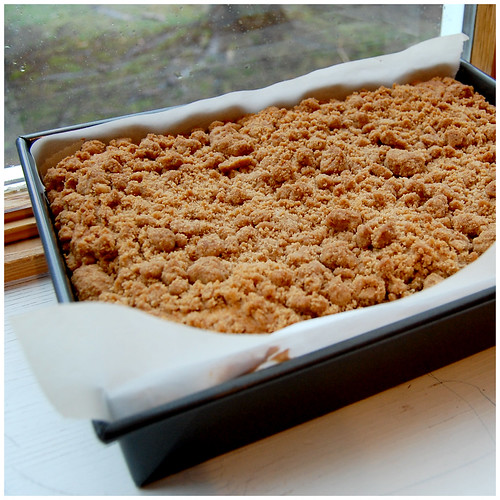
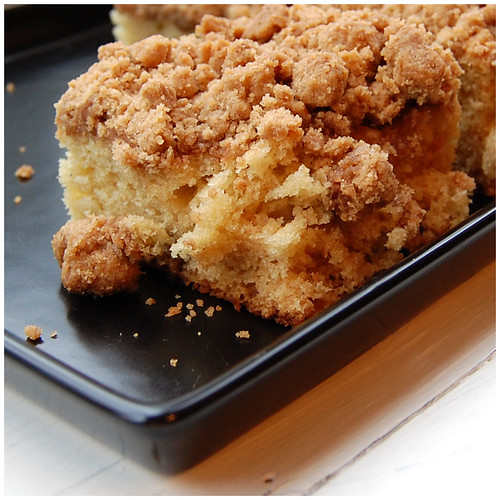
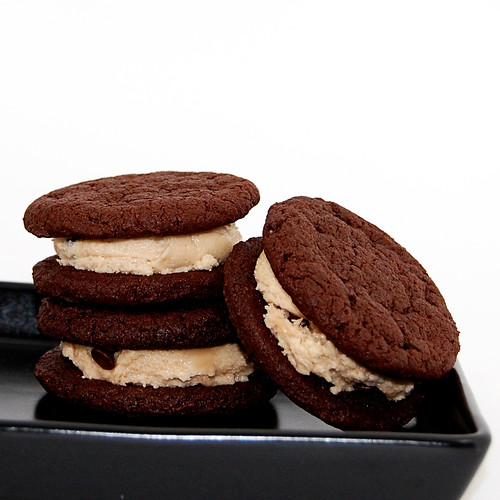
brownie cookies with chocolate chip cookie dough filling
recipe source: Heat oven to 350Brownie Cookie:
1 cup unsalted butter
1 cup white sugar
3/4 packed brown sugar
2 eggs
1 tsp vanilla
1/2 tsp salt
1 1/4 cups unsweetened cocoa powder
1 3/4 cups all-purpose flour
1 tsp baking powder
1 tsp baking soda
1. Heat oven to 350 degrees.
2. In a large bowl, cream together the butter, brown sugar and white sugar until light and fluffy. Add the vanilla extract and then the eggs one at a time, beating well with each addition. Combine the salt, cocoa, flour, baking powder and baking soda and gradually stir into the creamed mixture.
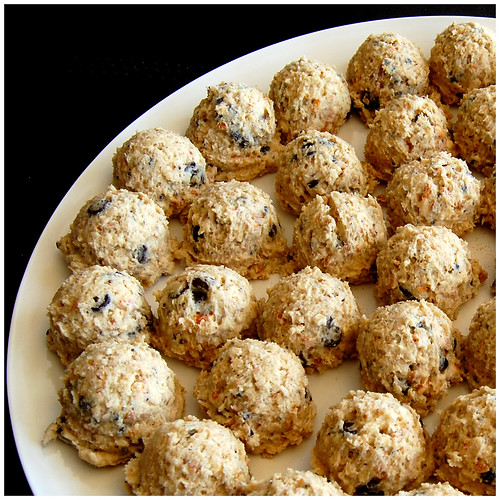
3. Shape dough into 1 tbsp sized balls and place on a baking sheet. Flatten cookies slightly with the bottom of a drinking glass or your palm.
4. Bake 8-10 minutes or until the cookies are puffy and the tops are cracked, but still soft. Allow cookies to cool on baking sheet for 5 minutes before removing to a wire rack to cool completely.

Cookie Dough Filling:
1 cup (2 sticks) unsalted butter, softened
2 tbsp brown sugar
2 1/2 cups flour
1 13 oz container marshmallow creme
1 tsp vanilla
1/2 tsp salt
1/3 cup mini chocolate chips
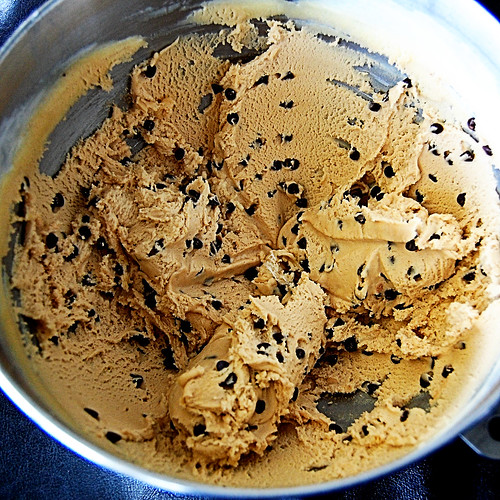
1. With an electric mixer, cream butter until fluffy. Add sugar and beat well. Add flour and beat until all the flour is incorporated. Add remaining ingredients and beat until mixture is smooth. (It will be fairly thick).
Assembling the sandwiches:
1. Scoop about 1 tbsp of filling onto to bottom of a cooled cookie. Top with another cookie and eat.
Yield: About 24 medium cookie sandwiches.
The cookies had a really strong cocoa taste, and definitely reminded me of brownies. The texture was just right. Strong enough to sandwich the filling, but soft and tender when you bit into them. This recipe is a keeper! Roll the dough balls into sugar, and you have great chocolate sugar cookies.
Although the filling was really good, it didn't scream chocolate chip cookie dough. And I might of messed with it a bit. I've never seen more than one size containers of marshmallow fluff, so I just bought the one jar, but I realized too late that I should of put closer to two jars in the filling recipe. I added light corn syrup to try to get a better consistency. I thought of adding sweetened condensed milk instead, but decided that having an open can of eagle brand near me was bad for my health, so decided to go with the corn syrup. Maybe a better option would be a modified version of cookie dough truffles for the filling?
I wouldn't want these cookies any bigger. If I had a smaller cookie scoop, I would have made them a bit smaller. Let's just say that you're not going to eat the whole tray of these in one sitting! Have a glass of milk handy!
In any case, I'm sure they'll be enjoyed, as the ones we kept disappeared fairly quickly!
3. Shape dough into 1 tbsp sized balls and place on a baking sheet. Flatten cookies slightly with the bottom of a drinking glass or your palm.
4. Bake 8-10 minutes or until the cookies are puffy and the tops are cracked, but still soft. Allow cookies to cool on baking sheet for 5 minutes before removing to a wire rack to cool completely.
Cookie Dough Filling:
1 cup (2 sticks) unsalted butter, softened
2 tbsp brown sugar
2 1/2 cups flour
1 13 oz container marshmallow creme
1 tsp vanilla
1/2 tsp salt
1/3 cup mini chocolate chips
1. With an electric mixer, cream butter until fluffy. Add sugar and beat well. Add flour and beat until all the flour is incorporated. Add remaining ingredients and beat until mixture is smooth. (It will be fairly thick).
Assembling the sandwiches:
1. Scoop about 1 tbsp of filling onto to bottom of a cooled cookie. Top with another cookie and eat.
Yield: About 24 medium cookie sandwiches.
The cookies had a really strong cocoa taste, and definitely reminded me of brownies. The texture was just right. Strong enough to sandwich the filling, but soft and tender when you bit into them. This recipe is a keeper! Roll the dough balls into sugar, and you have great chocolate sugar cookies.
Although the filling was really good, it didn't scream chocolate chip cookie dough. And I might of messed with it a bit. I've never seen more than one size containers of marshmallow fluff, so I just bought the one jar, but I realized too late that I should of put closer to two jars in the filling recipe. I added light corn syrup to try to get a better consistency. I thought of adding sweetened condensed milk instead, but decided that having an open can of eagle brand near me was bad for my health, so decided to go with the corn syrup. Maybe a better option would be a modified version of cookie dough truffles for the filling?
I wouldn't want these cookies any bigger. If I had a smaller cookie scoop, I would have made them a bit smaller. Let's just say that you're not going to eat the whole tray of these in one sitting! Have a glass of milk handy!
In any case, I'm sure they'll be enjoyed, as the ones we kept disappeared fairly quickly!